
support@pattrac.info
This lesson describes how to attach documents to a Patient’s record.
Patient Documents
Documents can be attached to a Patient’s record or to the patient’s Admission record.
Documents attached to the Patient Record or Chart are not specific to any Clinic. These documents are available for all staff across Clinics to access, therefore should be limited to scans of Insurance cards, drivers licenses and other general documents.
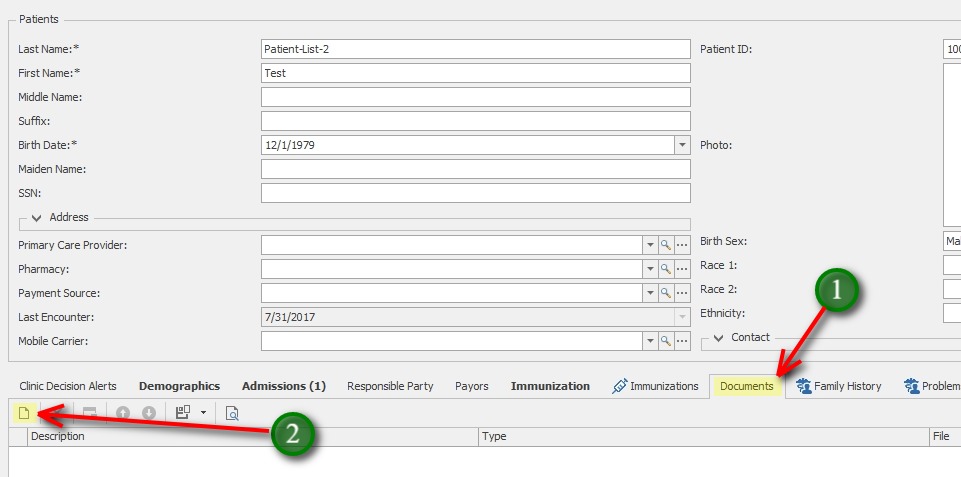
1. In the Patient chart, click the Documents tab
2. Click the New icon, to add a new Document.
Add the File
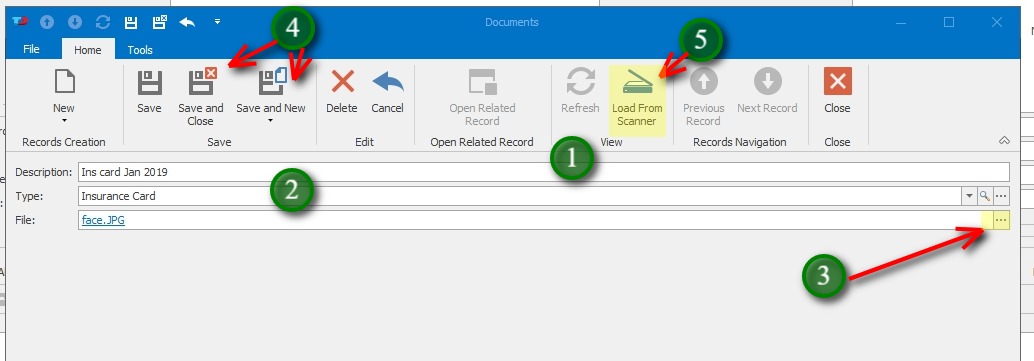
1. Give the Document a description
2. If desired, choose a File type
3. Click the ellipsis ‘…’ to browse to and attach the file.
4. Click Save and Close to exit the screen, or Save and New to add additional documents
5. Load From Scanner option utlizes software that will automatically scan and save the document to a .pdf file. Documents should autosave to the user’s C:\Documents directory with a specific file name – ScannedDocument.pdf OR AmbirScan-1.pdf
Most desktop scanners have software that will do this including auto scan and save when paper is detected.
Admission Documents
Documents added to the Patient’s Admission record are specific to that Admission only, and only visible by staff with access to the Clinic.
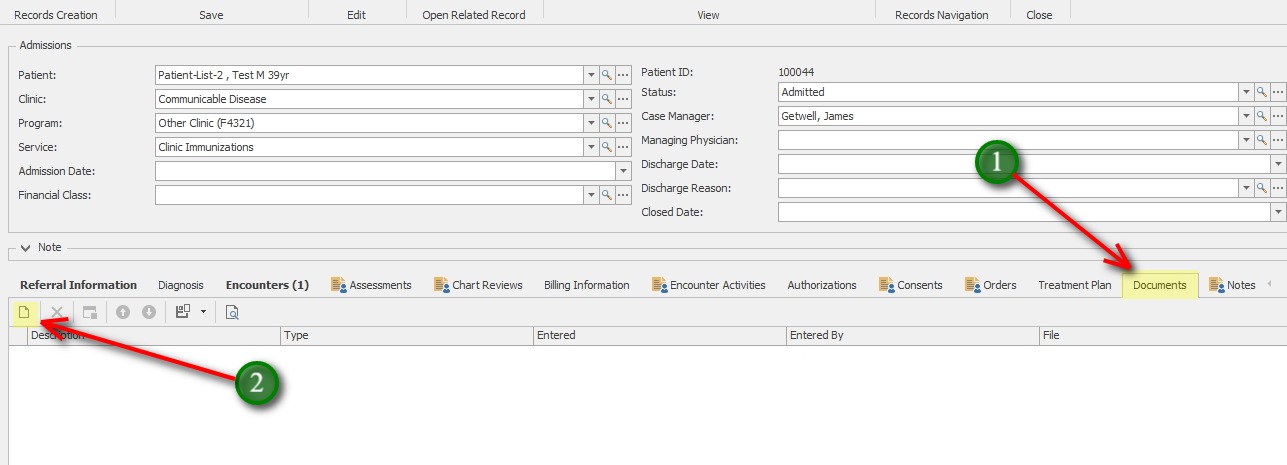
1. In the Admission screen, click the Documents tab.
2. Click the New icon to add a new document.
Add the File
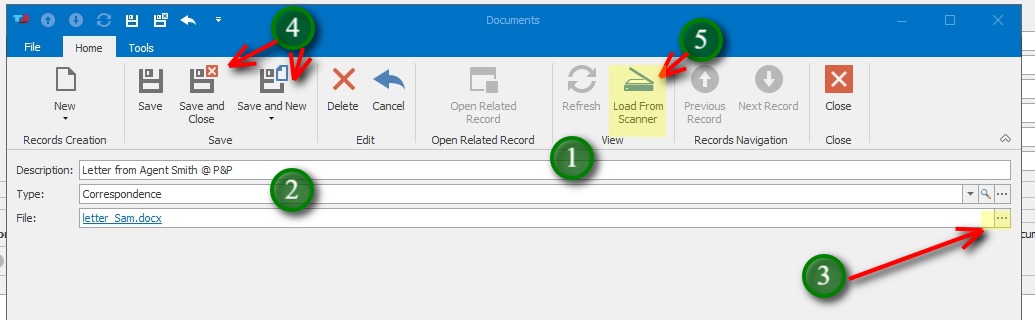
1. Give the Document a description
2. If desired, choose a File type
3. Click the ellipsis ‘…’ to browse to and attach the file.
4. Click Save and Close to exit the screen, or Save and New to add additional documents
5. Load From Scanner option utlizes software that will automatically scan and save the document to a .pdf file. Documents should autosave to the user’s C:\Documents directory with a specific file name – ScannedDocument.pdf OR AmbirScan-1.pdf
Most desktop scanners have software that will do this including auto scan and save when paper is detected.